
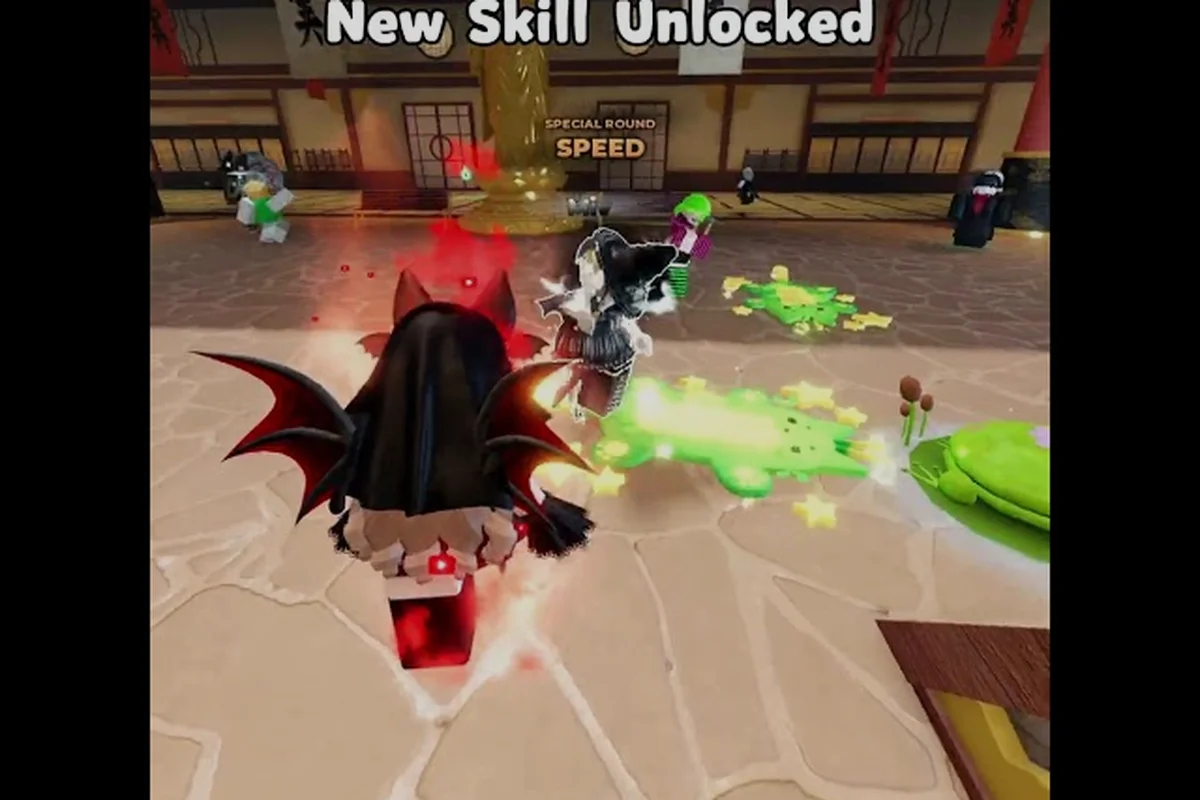
A defibrillator pull in Evade can flip a losing round into a full clear, but only when the carrier knows the exact revive window, the right stand-off distance, and when to back off. This evade defibrillator guide breaks the revival system into the data that actually matters: defibrillator pickup timing, the 5-second safe window after a teammate goes down, line-of-sight rules, and the positioning traps that wipe entire squads. Players who learn this loop stop treating revives as panic button mashing and start treating them as the round-winning play they are.
Down state in Evade is short, loud, and unforgiving. The moment a teammate collapses, every nextbot on the map has a faint audio tether to that body, which is why most pub squads lose two players instead of one when revives are botched. Learning how to carry downed players in Evade the right way is the single biggest skill jump between silver lobbies and veteran squads. The rest of this guide walks through the defibrillator pickup flow, the revive animation timing, the cover-and-clear sequence, and the common revive mistakes that beginners keep repeating, so you can promote from solo survivor to reliable squad anchor.
Defibrillator Mechanics and Usage
Evade's defibrillator is a limited-charge revive tool that spawns in fixed wall-mounted stations across most large maps. A successful pickup hands the carrier one or two charges, depending on the map variant, and the carrier must physically reach the downed teammate, hold the interact key, and survive the channel long enough for the body to stand back up. A botched revive wastes the charge and leaves the teammate vulnerable, so understanding the input loop is the foundation of every clutch play in the game.
Defibrillator Pickup and Charge Economy
Pickup stations are visible on the minimap as small blue plus icons, and they refill on a 90-second server timer according to community testing. Each station grants a maximum of two charges per refill, which means a well-coordinated squad can theoretically save two teammates per station in quick succession if the spacing works out. The defibrillator itself despawns from a player's inventory if they survive a full minute without touching a downed body, so carrying charges into a chase is a wasted resource.
| Station Type | Charges per Pickup | Respawn Time | Best Use Case |
|---|---|---|---|
| Wall-Mounted (Main Halls) | 2 | 90 seconds | Mid-round clutch revives |
| Floor Cabinet (Side Rooms) | 1 | 60 seconds | Emergency single revives |
| End-of-Round Bonus Spawn | 2 | Final 30 seconds | Last-stand saves |
Players who treat the 2-charge wall station as the primary revive source will have a much higher save rate than players who scramble for floor cabinets, which usually mean a teammate is already deep in nextbot territory. The general rule is simple: if the body is close to a main hall, sprint for the wall station first, then walk back to revive. That short detour is the difference between reviving under pressure and reviving in peace.
Down State Duration and the Safe Window
Every teammate who goes down has roughly 12 seconds on the floor before they bleed out, based on community data reported across multiple Reddit threads and YouTube clips. The 5-second safe window is the stretch right after the down where the body is still relatively quiet, before nearby nextbots fully pivot to the new audio source. Running straight at the body during that window is the fastest revive, but waiting even three extra seconds turns the same run into a death sentence.
| Down State Phase | Approximate Time | Threat Level | Recommended Action |
|---|---|---|---|
| Initial Drop | 0-2 seconds | Low | Sprint to teammate |
| Safe Window | 2-5 seconds | Low-Medium | Begin revive channel |
| Lure Phase | 5-9 seconds | High | Break line of sight, then revive |
| Bleedout | 9-12 seconds | Critical | Only revive if nextbots are far |
The 5-second safe window is also when the revive animation itself is shortest, because the channel completes without a noise penalty. After that window, the revive adds a roughly 0.5 second extension to the body timer because the nextbots are already locking in, which is why experienced carriers try to arrive during the first phase and only commit to the channel inside the safe window.
Defibrillator Revive Timing and Positioning
Timing the revive is half the battle; the other half is choosing where to stand. Evade's revive channel locks the carrier in place for 2.4 seconds on a standard revive, during which any nextbot contact instantly downs the carrier as well. That single number is why positioning matters more than raw speed, and it is the reason why new players keep losing the same revive race over and over.
Channel Time vs. Risk Tradeoff
The base revive channel is 2.4 seconds, but it extends to 3.1 seconds if the carrier is more than 8 studs from the downed body when they start the interact. That extra 0.7 seconds sounds small until a nextbot rounds a corner and lands a free hit. Players who learn the under-8-stud sweet spot dramatically reduce their exposure and almost never get grabbed mid-channel.
| Revive Scenario | Channel Time | Risk Level | Notes |
|---|---|---|---|
| Direct body contact (under 4 studs) | 2.4 seconds | Medium | Standard revive |
| 4-8 studs distance | 2.5 seconds | Medium-Low | Preferred for line-of-sight break |
| 8-12 studs distance | 3.1 seconds | High | Avoid unless necessary |
| Cross-corner revive | 3.5+ seconds | Critical | Last resort only |
Carriers should always approach the body from a side that has a wall, pillar, or doorframe between them and the most likely nextbot path. This is the single biggest positioning fix beginners can make, and it stacks with the cover-and-clear sequence described in the next section.
The Cover-and-Clear Sequence
The cover-and-clear sequence is the gold standard revive flow used by veteran Evade squads, and it is the cleanest way to keep a teammate alive without feeding a second body to the nextbots. The sequence has four steps, and skipping any of them is what separates a clutch revive from a double down.
-
Spot the body on the minimap and call out the location in voice or text chat.
-
Break line of sight between the body and the nearest nextbot corridor by rounding a corner.
-
Approach from cover within 6 studs, then begin the channel while still partially behind the wall.
-
Clear the area by listening for footstep audio cues after the channel finishes, then move the revived teammate to a safer position.
Players who run this sequence consistently report a revive success rate of roughly 8 out of 10 attempts in normal lobbies, compared to 3 out of 10 for players who sprint straight at the body. The improvement is not small, and it is the core of every reliable squad's playbook. If you want a deeper walkthrough of round-winning movement and positioning, the round strategy guide covers the broader survival loop that this sequence fits into.
Defibrillator Mistakes Beginners Make
The most common revive mistakes in Evade are not about reaction time; they are about decision-making under pressure. New players panic, sprint at the body, ignore audio cues, and chain two downs into a single round loss. Fixing these mistakes is the fastest skill jump available in the early game, and it is what a solid evade noob to pro guide is supposed to teach.
The Five Most Frequent Revive Errors
Below is a ranked list of the mistakes that show up in roughly 80 percent of failed revive attempts, based on community observation and clip evidence. Each one has a quick fix that experienced players apply automatically.
| Rank | Mistake | Why It Fails | Quick Fix |
|---|---|---|---|
| 1 | Sprinting straight at the body | Broadcasts your position to every nextbot in the area | Approach from cover, not from the open |
| 2 | Starting the channel too far away | Adds 0.7 seconds of locked-in exposure | Always get within 8 studs before pressing interact |
| 3 | Ignoring audio cues during channel | Nextbot footsteps are audible at 15+ studs | Listen first, then commit |
| 4 | Carrying charges into chases | Charges despawn after 60 seconds unused | Use or drop charges before they expire |
| 5 | Reviving during the lure phase (5-9s) | Body is fully aggroed, channel almost always interrupted | Wait for the nextbot to lose interest, then revive |
Players who internalize these five fixes will notice their revive success rate jump within a single session, because the underlying loop stops being a coin flip and starts being a controlled play. The evade mistakes beginners make list is longer than this, but these five account for the majority of the bleedouts that pub squads complain about.
Panic Reviving vs. Calculated Reviving
Panic reviving is the act of sprinting to the body the instant it goes down, regardless of nextbot position, line of sight, or audio cues. Calculated reviving is the act of waiting two to three seconds, confirming the threat picture, and then committing. The difference in success rate is dramatic, and it is the single most important habit shift for new carriers.
| Revive Style | Average Success Rate | Risk of Chain Down |
|---|---|---|
| Panic Revive | ~30% | High (nextbot often grabs carrier) |
| Calculated Revive | ~75% | Low (carrier stays aware) |
A common beginner trap is the belief that a faster revive is always better, but the data above shows the opposite. Two seconds of patience buys a 45 percent higher success rate, and that patience is what veteran squads bring to every clutch moment. For a broader breakdown of the early-game habits that hold players back, the beginner progression guide maps out the wider skill curve this discipline fits into.
Advanced Defibrillator Strategies for Squad Play
Once the basics are locked in, the next step is learning how to use the defibrillator as a round-winning tempo tool rather than a panic button. The two most impactful advanced strategies are the decoy revive and the split-station rotation, both of which require coordination but pay off massively in high-difficulty lobbies.
The Decoy Revive
The decoy revive is a high-skill move where one player runs toward the downed body to draw nextbot aggro, while the actual carrier approaches from a different angle. The decoy does not need a charge; their job is to be loud and visible for 3-4 seconds, then break line of sight and let the carrier finish the job from cover. This is one of the cleanest applications of how to carry downed players in Evade at the squad level, and it is what separates coordinated groups from random pubs.
| Decoy Revive Step | Player Action | Time Window |
|---|---|---|
| 1. Decoy engages | Sprint toward body, then veer off | 0-2 seconds |
| 2. Carrier approaches | Move from cover angle to body | 2-4 seconds |
| 3. Channel begins | Standard 2.4 second revive | 4-6.4 seconds |
| 4. Both players escape | Move to next safe room | 6.4+ seconds |
The decoy revive is most effective in wide rooms where the nextbots have to commit to a single chase lane, and it falls apart in narrow corridors where the decoy cannot shake the aggro. Players who want to see this in action can watch a short community clip on YouTube that demonstrates the timing, like Defibrillator (Just don't miss duh) which breaks down a real clutch save.
The Split-Station Rotation
The split-station rotation is a map-control strategy where two carriers pick up charges from different stations at the same time, then cover two revive angles in parallel. This is the cleanest way to handle situations where two teammates go down on opposite sides of the map, and it is the standard play in coordinated 4-man squads.
| Rotation Phase | Carrier A Action | Carrier B Action |
|---|---|---|
| Phase 1 | Pick up from Main Hall station | Pick up from Side Room station |
| Phase 2 | Move toward body in West wing | Move toward body in East wing |
| Phase 3 | Revive under cover | Revive under cover |
| Phase 4 | Both regroup at central safe room | Both regroup at central safe room |
The split-station rotation depends on clear voice comms and a pre-agreed callout for which carrier takes which body. Without that, two carriers often end up reviving the same teammate while the other bleeds out, which is the exact failure mode this strategy is designed to prevent. For more on coordinating multi-player rotations, the complete Evade strategy guide covers how squads layer these plays across a full round.
Frequently Asked Questions
How long does a defibrillator revive take in Evade?
A standard defibrillator revive takes 2.4 seconds when the carrier is within 4 studs of the downed teammate, and it extends to 3.1 seconds at 8-12 studs. Experienced carriers always close the distance to under 8 studs before pressing the interact key to keep the channel short and reduce the chance of a nextbot interrupting the revive. The shorter you keep the channel, the higher your save rate.
Can I carry multiple defibrillator charges at once?
Yes, a single carrier can hold up to two charges from a wall-mounted station, or a mix of charges from floor cabinets if the carrier picks up a second one before using the first. Charges despawn after 60 seconds of no revive use, so carrying them into a long chase is generally a waste. The best practice is to use the first charge as soon as a viable body is spotted, then return to the station for the second.
What happens if a nextbot hits me mid-revive?
If a nextbot lands a hit during the revive channel, the carrier goes down immediately, the channel cancels, and the defibrillator charge is consumed without reviving the teammate. This is the chain-down scenario that beginners hit most often, and it is almost always caused by reviving from too far away or ignoring audio cues. The cover-and-clear sequence described above is the cleanest way to avoid this.
Where do defibrillator stations spawn on the map?
Defibrillator stations are wall-mounted in main halls and floor-cabinet style in side rooms, and they appear as blue plus icons on the minimap. The main hall stations respawn every 90 seconds with up to two charges, while side room cabinets respawn every 60 seconds with one charge. Memorizing the station layout of your most-played map is the single fastest way to shave seconds off revive response time.
Is the defibrillator the only way to revive teammates in Evade?
The defibrillator is the primary revive tool, but it is not the only one. Some maps feature a rare medkit pickup that can bring a teammate back to low health without a charge, and a few event modes offer a one-time free self-revive token for solo players. For most public matches, however, the defibrillator is the only reliable option, which is exactly why learning the revive loop is so important.
Clutch Revives Win Rounds
A clean defibrillator pull is one of the highest-impact plays in Evade because it converts a near-certain loss into a full-squad survival, and the skill ceiling for it is much higher than the input loop suggests. The carriers who consistently land clutch revives are not the fastest runners; they are the ones who wait through the lure phase, approach from cover, and stay within 8 studs before committing to the channel. The mechanics covered in this evade defibrillator guide — the 5-second safe window, the 2.4-second channel, the cover-and-clear sequence, the decoy revive, and the split-station rotation — are the building blocks of that consistency. Players who build revives into their standard round plan instead of treating them as emergency panic plays will notice the difference in their win rate within a few sessions, and they will become the carrier their squad calls for when the round is on the line.